We use your sign-up to provide content in ways you’ve consented to and to improve our understanding of you. This may include adverts from us and 3rd parties based on our understanding. You can unsubscribe at any time. More info
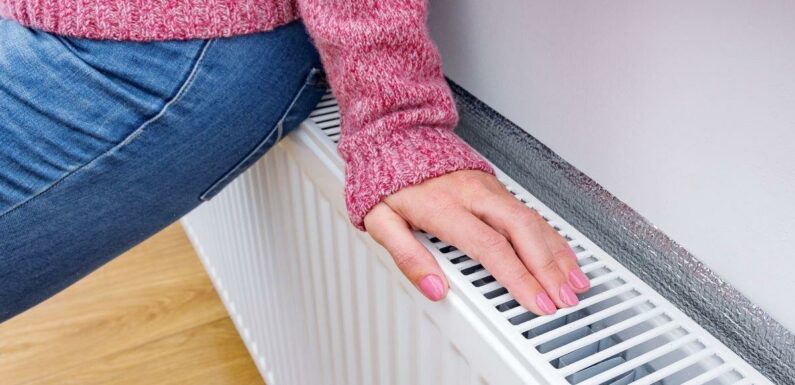
As the cold weather approaches and the cost of living crisis bites hard, you want your radiator to be working properly. Thankfully, experts have shared several tips on how to fix our radiators when they have stopped functioning properly.
One common problem with an easy fix is when the radiator is hot on top but cold at the bottom.
So, if a radiator has cold patches while the heating is on, it could mean there is sludge present inside.
Sludge tends to accumulate inside the radiator over time.
Once enough sludge is in the radiator, it blocks the flow channels, meaning water is unable to move around the radiator effectively.
Experts at Boiler Central have revealed some tips to clean a radiator and prevent sludge buildup.
Isolate the radiator
If the affected radiator has a thermostatic radiator valve, turn this down to 0.
On the other side of the radiator is a valve known as the lockshield valve (covered with a plastic hood).
Close the lockshield valve using a spanner – this may be either a quarter or half a turn, but take note of this, as it will be how much it needs turning to open it back up again.
Wait at least an hour for the water in the radiator to fully cool.
Set up for leaking water
Have some containers or buckets on hand to ensure that you catch all the water that escapes from the radiator without overflow or spillage.
Place an old rag under each valve to ensure any unexpected leaks don’t ruin the flooring.
Open the bleeding valve
Open the bleed valve right at the top of the affected radiator using a bleed key or a screwdriver.
Water will then begin pouring out from the loosened nuts.
Removing and cleaning the radiator
When the water stops coming out of the radiator, disconnect the valves and take the radiator off its bracket.
Ensure not to completely undo the valves.
Doing this could cause the contents of your heating system to empty.
Take the radiator outside to clean it.
Attach a hose to one end of the radiator and blast water through the end for a couple of minutes until the water begins to flow clean.
To ensure that the radiator is completely clean, connect the hose to several different openings.
Test out the system
Once done, place the radiator on its bracket.
Ensure the pipes are attached to the nuts while turning the valves at either end to their original positions.
Water will begin refilling the radiator, so you must have the bleed key on hand.
Close the bleed valve when water starts to escape from it.
Once this is done, turn the heating back on and wait for around thirty minutes.
If done properly, there should be no cold patches present on the radiator.
Re-pressurise
Once a radiator is removed from a sealed heating system, it must be re-pressurised. If the heating system is pressurised, add more water to the loop to level out the pressure.
A spokesperson for Boiler Central said: “Unfortunately radiator sludge is a very common occurrence and this is because of the reaction caused when water interacts with metal.
“When this happens the best thing you can do is clean the radiator completely, which can sound like a daunting task but it is something you can do without a professional.
“We’re hoping that our cleaning tips will provide some help in running a more efficient household, especially during these tough economic times.
“Saying this, if you’re still unsure it is always best to call a professional plumber before a heating problem gets too bad.”
Source: Read Full Article
